
Internal memory sometimes falls short when it comes to storing information valuable on our phones, including pictures, videos, and other documents. In the case of the second, they usually weigh a good amount, which is why it is best to always save what is truly important and vital.
Almost all smartphones integrate a slot to insert a card, thus expanding the extra capacity and being able to pass information from the internal to the known as external. The user has to manually pass each of the files and keep the greater part of each of them, keeping all of them in safekeeping.
Let's explain how to transfer photos on Android to an SD card, lightening the well-known ROM and being able to have all those that really matter to us. When purchasing a card of this type, the price will vary depending on the brand, among them the well-known manufacturers are Sandisk and Kingston, two of the important ones.

The manual way, the most feasible

Manually transferring files from one site to another is the process you should carry out, not having to use anything additional, such as an application. It is true that in Android you have them, moving if you want a complete folder, sometimes it is not all that is in it and certain photos.
If you do it this way, you have to see if you want to create a directory to order, otherwise it would be an impossible mission to quickly find a photograph. When it comes to accumulating the different images, it is appropriate that you save by value, when doing this you have to see if it is an image in which you appear and if it is with a family member or friend.
Transfer photos from Android to SD card It is not one of the complicated things, although for this you have to know a little before starting to do each of them. Be careful, because you could lose an image if it does not go completely to the other root, which is where it will go if you cut it and not copy it, as it would happen in Windows.
Install an SD card first

Before starting transfer images from your internal card to the external is to install an SD card on the device you own and use daily. The first thing is to verify that it has a slot, not all smartphones have one, if the majority do, they give up to 1 TB in some cases.
The first step is to acquire one, prices vary a lot, from a few euros you will have different models with 128, 256 and 512 GB. It will depend on your phone being able to read that much capacity, that sometimes if possible, at least a 128-256 GB will be enough in this case to double the total memory.
To install a card, do the following:
- Remove the case from your phone to start installing the SD card on your device
- Check where this slot is located, it is usually right next to the SIM reader, check this
- Open the tab, for this you will need a needle as long as you can remove the part that covers it, place the SD card in the best way and try to insert it
- After you have put it, it will appear on the phone, detecting the available capacity, which sometimes is less due to the formatting that they carry in their startup process
- Go to "Storage" and see if it is operationalIf so, you will have done it successfully and you will start working
Transfer photos on Android from internal memory to SD
After SD card installation, we are going to explain how to transfer photos on Android from one memory to another, thereby keeping any information we want safe. Doing this one by one is not a tedious task, you can always go from a quantity and not one file by file, which would slow down the work.
When passing images, the user will be the one who decides to select and send through, for example, the file explorer, which is always vital in our case. After this, go passing some images from memory to the new card is not a complicated task if you know how to take a few steps.
If you want to transfer photos from Android to the SD card, perform these steps:
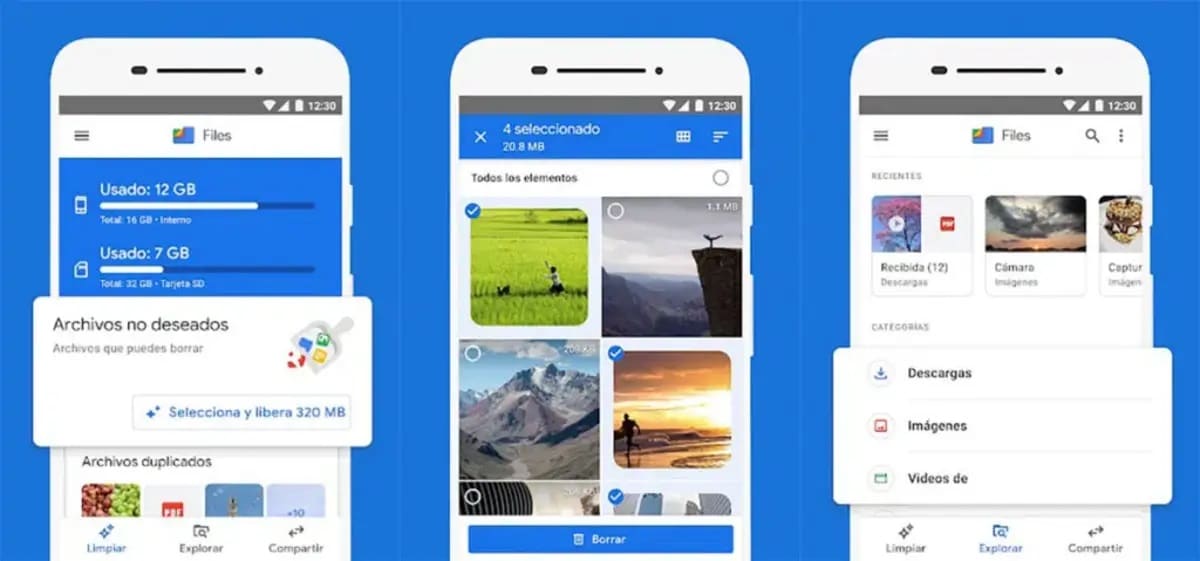
- Lo First and important is to download Google Files, an application that you have free in the Play Store, just below you have the box


- Once installed, open the app and click on "Explore" in it
- Click on the “Internal storage” tab and view that you want to pass, you can pass individual things to a complete folder
- To move a folder, click on the arrow next to it and choose the “Move to” option
- Now choose the SD card and click on “Move here” to complete the action, which will take just over a few seconds, if you open a folder you can choose the ones you want to move photo by photo, in case you are not interested in moving so many files
Pass files manually from Android explorer

Passing manually without the need for applications is possible on Android, remember that this step by step will allow you to order those things you want. The ideal is always to be able to transfer any document to a site of your choice, in our case to the card placed at this time.
Android's file explorer is just as strong as others, though there are certainly limitations in not seeing everything at a glance. The first thing is to locate "My files" or "Files", This is where we must work each of the movements to the SD installed a moment ago.
To move from explorer to SD, perform the following step:
- Open “My files” or “Files”, you have it on the desktop of your phone
- Click on "Images" or on the folder where you want to move the photos
- Click on the image or on several and click on the three dots which will appear at the top right
- Click "Move" and select the SD, if you want to move this to a folder, choose the destination and you're done