How to fix the screen of a mobile
Surely, almost everyone, at some point in their daily lives, walks with their respective mobile devices, has been found on some occasion that the same, presents some failure or malfunction associated with screen.
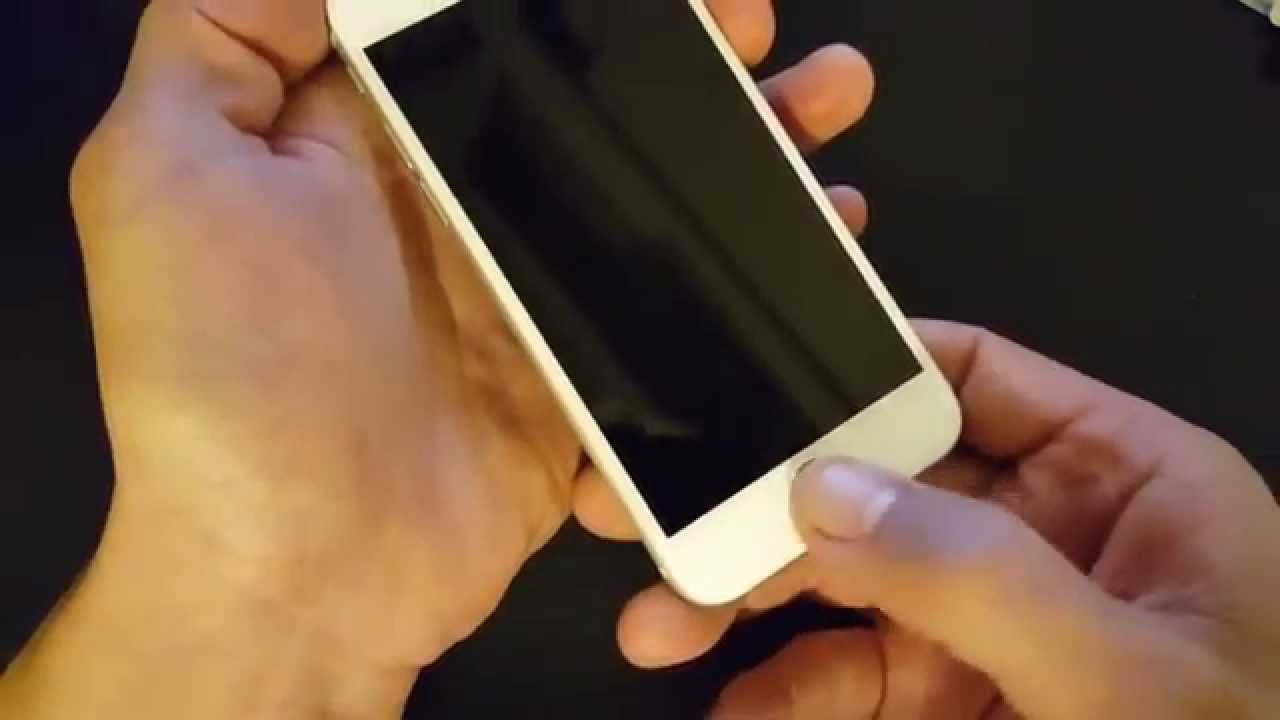
And, although the origin of the leak can be from software or hardware, can also be due to a inappropriate or excessive use, device age, or by accidental accidents, or other reasons. Therefore, after detecting the origin of the problem, and as long as we are able to carry out a self repair, we can confidently proceed to «fix the screen of an Android mobile», own or third parties, following the steps and recommendations mentioned here.

But before you start reading this new technical tutorial on how «fix the screen of an Android mobile», we recommend that when you finish it, you explore other related contents:


Technical tutorial: Fix the screen of an Android mobile
Steps to fix the screen of an Android mobile
Regardless, the make or model of the Android mobile device which we are talking about, the most common or general steps for this task are the following:
- First, we must search the Internet for one or more specific videos on how to replace the screen of the smart mobile device (smartphone) in particular, that is, the one or videos that correspond exactly to the exact brand and model.
- Then, to fully understand the tutorials. And should you decide to take on the challenge, we can proceed to purchase the exact screen repair kit for your device make and model. Taking into account that many of these actually have two screens: the LCD screen and the touch screen (Touch Screen). And, that several manufacturers usually glue both screens. Therefore, it may be time to buy both parts. Which, we will have very clear, when we see the exact tutorial.
- Next, and specifically for the case of just fixing the screen, further specialized tools may not be needed, therefore, it will only be necessary to apply heat to the broken screen to get it unstuck. Which can be done with a good power domestic hair dryer. However, a professional heat gun can be purchased, which in combination with the spikes (plastic tips) that come in the cracked screen repair kit, make the job much easier.
- And to finish, we glue the new screen using the remaining materials and spare parts purchased in the broken screen repair kit.
In some cases, it would touch uncover, unscrew and disconnect some things on mobile, both front and back. for later, unscrew and disconnect the damaged or broken screen for removal. and finish, inserting the new screen, to return to connect and screw everything, and test its proper functioning.
Recommendations
2 helpful recommendations For this specific case of failure and repair are:
- Cover the broken screen with something, such as seal or tape (adhesive tape), to avoid cutting ourselves with the glass splinters (glass) when starting the disassembly.
- Protect your eyes with goggles and your hands with gloves, to avoid any accident associated with possible splinters (fragments) that may fly through the air in the process.
More information on self-repair
If the topic has interested you, and you want to go deeper into self-repair or DIY themes on the Internet, we recommend you explore the website of iFixIt. which is an excellent technical reference point on DIY to start in this field. Above all, because it provides precise and up-to-date instructions, with texts, videos and links, on various types of repairs on different types of devices.
In addition, YouTube always It will be a great resource to consult when you need a video on repair tutorials. While, on websites like, Free Market, eBay and AliExpress, we can buy the necessary parts to carry out these tasks.
And if you don't want to take the path of self-repair, when it comes to «fix the screen of an Android mobile» There are always the following alternatives:
- Activate the mobile insurance to achieve its repair.
- Temporarily use an old phone, owned or borrowed.
- Pay for screen repair at an authorized or trusted workshop.
- Continue to use the mobile device, as much as possible, if possible.
- Change or sell the mobile, to be able to buy a replacement more easily.
- Consult with our telephone operator about plans for changes or updating of equipment.
- Try to cover the damaged area with a screen protector, in case it is small.


Summary
In short, we hope this new technical tutorial over a problem or failure more, in the Android mobile devices, serves to favor or strengthen the valuable and necessary self-repair initiatives, that are so fashionable lately. And so, help us or help others, to extend the useful life of our devices, mitigating their planned obsolescence. Meanwhile, we save a little money in the process of «fix the screen of an Android mobile».
If you liked the content, leave your comment and share it with others. And remember, visit the beginning of our website «Android Guías» for more content (apps, guides and tutorials) on Android.