A veces take some good photos with the mobile It is not as simple as it seems. For this, several things must be taken into account before making an image if we want the photographs in question to have a very good image quality. Although it is also necessary to take into account that a subsequent edition is always a good option for get better sharpness.
That is why today we explain how you can achieve better quality in your photos taken with the mobile. We will also give you some interesting tricks to get better photos with the same device camera and increase the sharpness of them once they go through the editing process.
Before taking a photo

When take a picture with the phone camera, There are several important aspects to consider, as getting the most out of your hardware and software is a key element. One of these aspects also depends on whether the mobile lenses are of lower or higher quality. But thanks to these tricks you will get a higher quality in your images using only the sensor of your mobile device.
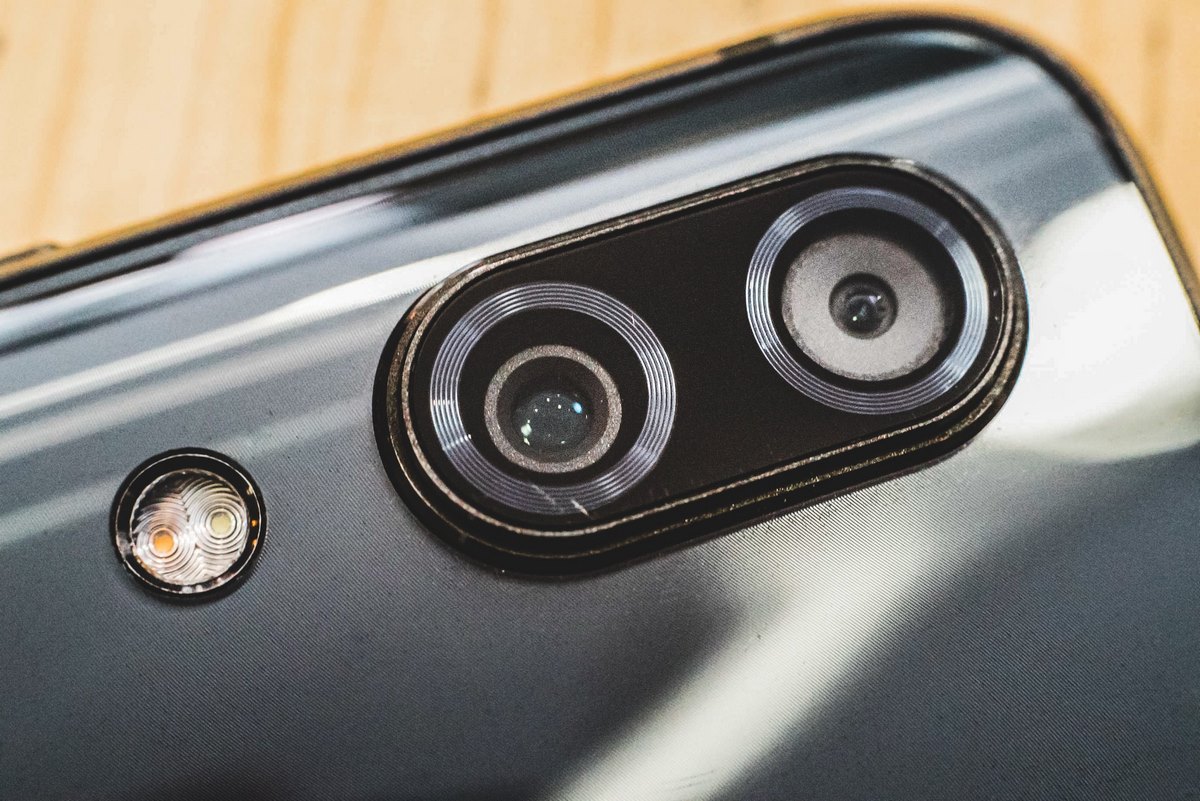
Firstly, This step must always be taken into account. In most cases this is the main reason why the photos taken are blurry or of poor quality. And it is very common and easy for the lenses of the devices to get dirty quickly, either when you put the mobile on the table or have touched the lens with a dirty hand.
So you should first make sure the lenses are clean before taking a photo with your device. If they are dirty, you just have to clean them carefully using a chamois for it. Then you can take good pictures.
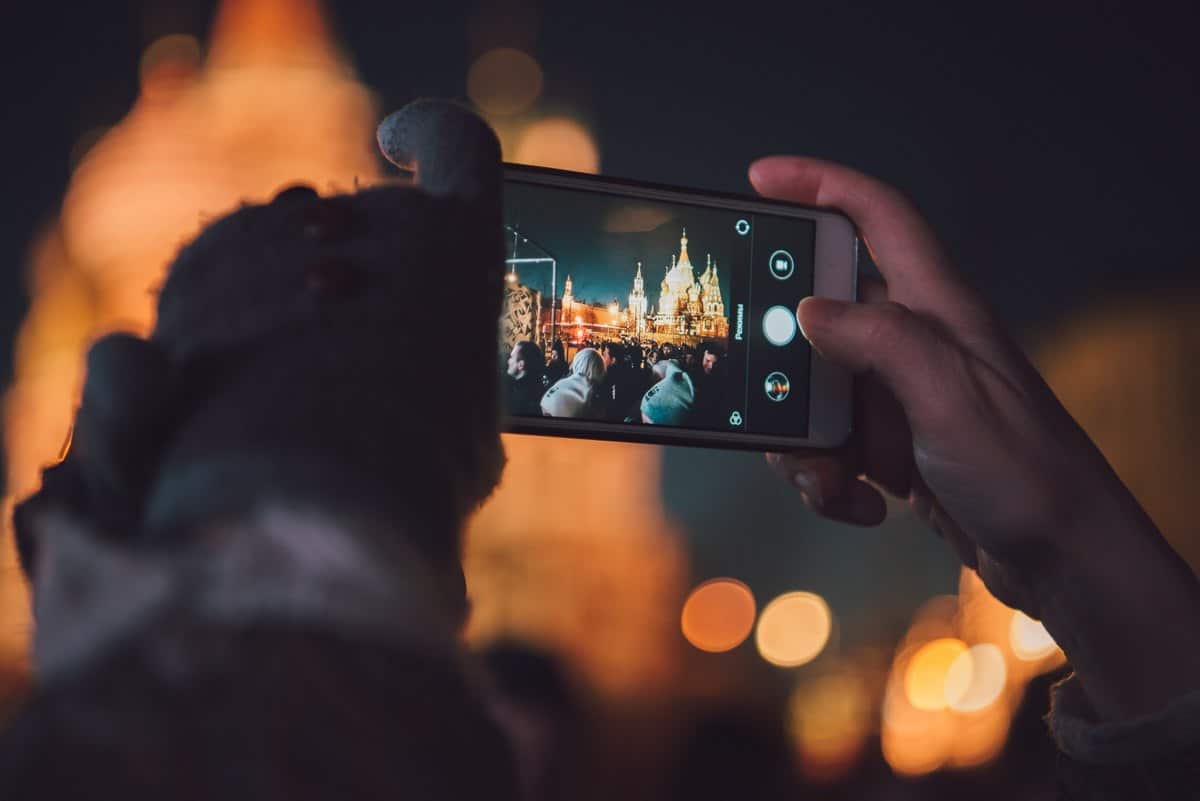
It is important to remember that the mobile must be well secured when taking a photo with the camera lens. Especially for those users who only tend to take pictures at an inopportune moment and therefore do it quickly. For this reason, when taking a photo, our advice is to hold the device firmly with both hands, and take a comfortable position so that you can take your time. In this way you will be able to take all the photographs you want without getting tired and without being moved.

Before taking a photograph you have to take into account, as an essential requirement is lighting and contrast. And it is that the luminosity is going to be a key element in how the photograph comes out. For this, using the HDR mode is the best and very useful option on the mobile phone.
It is a ideal function that you can use when you go to take pictures during the day, when it is very sunny and you want to be precise between the lighting and the shadows that some places offer. Therefore, using this function will always be a good option to take photos with the best possible quality.
Activating it on Android is very simple, all you have to do is enter the Camera app> settings or more> search for HDR Mode and then activate it. Sometimes it will even appear in the quick settings that you will see as soon as you enter the application. While in iOS the path is as follows: Settings> Camera> activate the intelligent HDR function.
The best tricks to take sharp photos with your mobile: Focus the camera

This is usually another common reason why photos can be very blurry.. It should also be borne in mind that most (if not all) smartphones have a function called 'autofocus', this tool is responsible for starting the lens to focus well on the object you want to take the image of.
However tWe have bad news to give you, and that is that this process takes time and is not activated as soon as you open the camera app. This means that when taking a photo you will need to take a few seconds for it, and in case you have to do it quickly you must make sure that the objective has been well focused so that the image does not end up being blurred. So we recommend that you take some time for it.
AI settings
In this case, it depends on the operating system but also on the customization layer that exists. Within Android you will find it following this route: Camera > settings > AI settings, and in here you will see a lot of different options that will allow you to take some good pictures using the main sensor. However, you should pay special attention to the function of increasing sharpness, Smart Composition and Scene Optimization so that the objective of the mobile AI is in charge of doing the job. You can find these different options in Android, since in iOS there are very few and you yourself will have to play with the manual adjustment with the options that exist.
With photo editing you can do miracles

Now that you know all the tips and tricks that you must take into account to take a photograph with the device, we are going to talk about another important element: the post edit. A photo with poor sharpness can always be fixed once you get to this point. And it is that the photo editing software has been improving as the manufacturers launched the new models, until today that it offers impeccable results. Here we leave you some ideas by which you can start editing any photograph within the same device to achieve the highest possible quality.
Use the manufacturer's software

When it comes to editing a photo on both Android and iPhone, it is common for each user to decide which options they prefer in order to get the perfect image to their liking. Although for those photographs that are not completely clear, it will be an option yes or yes since it is complicated (if not impossible) to take the same image again with the same lighting, the same shadows, etc.
So our first recommendation is to first use the editor that is already integrated into the device. Although it is true that this depends a lot on the software that each manufacturer has wanted to integrate. And it is that each operating system or customization layer will include different options, more or less in order to improve the quality of the photograph.
Be that as it may, if you are interested in starting to edit images within your device, what you should do is enter the gallery, select the image in question that you want to edit and click on the Edit option. Once inside you will find a number of different functionalities. To improve sharpness you must enter this section, although you will see that there are many more. There is even another option in which the smartphone improves the photo through artificial intelligence. So you can try both options to decide which result is the best.
You can always use Google Photos
Although different operating systems have their own image editor, You also have the option of using the official Google app in which you can edit images on Android. It's called Google Photos, a free app available for download on both Android and iPhone. To make use of its functions and edit the images, you just have to select an image and click on the Edit option.